Make a Wooden Planter
9-Hour Workshop: Designing and Crafting a Custom Planter
9 hours in Total: 1 Day!
Course Scheduling Options:
The courses listed below are available in flexible time slots:
- Evenings (Monday–Friday): Three-hour sessions
- Daytime (Monday–Friday): Choose between three-hour or six-hour sessions
- Saturdays: Limited to five-hour sessions per day
hands-on workshop is designed to empower participants with the skills and confidence needed to create a beautiful, functional wooden planter. From mastering essential tools like drills and saws to learning assembly techniques, this course offers a comprehensive experience for DIY enthusiasts
Workshop Overview Introduction to Tools and Safety
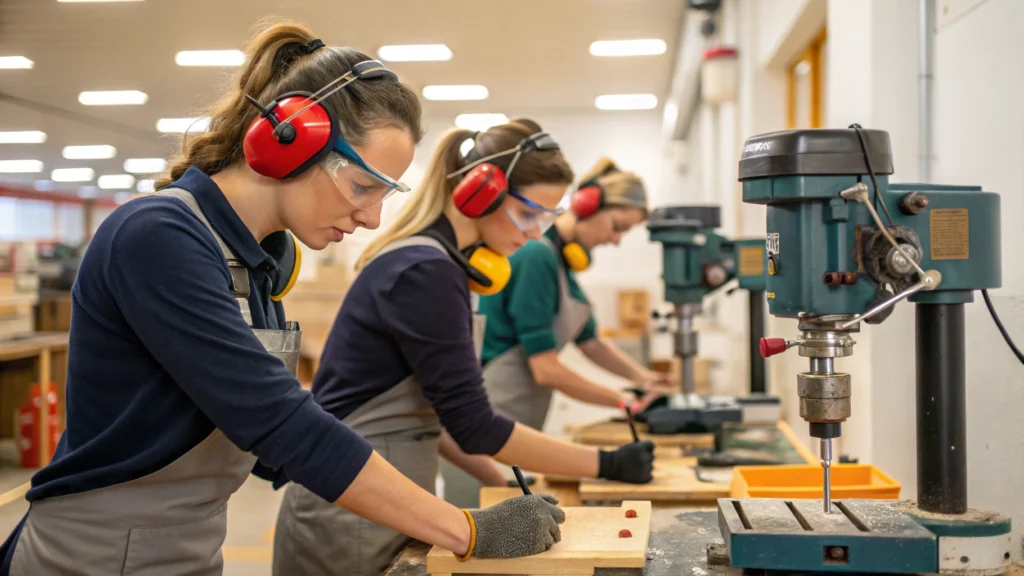
Start the day with an overview of safety protocols and proper tool handling techniques. Learn about key tools, including drills and saws, and how to use them effectively for various tasks
Mastering Drills and Saws
Engage in advanced drilling practices across a diverse range of materials, including wood, metal, and plastic, while acquiring the knowledge necessary to select the appropriate drill bits tailored to each specific task. Recognizing that each material may necessitate a distinct type of drill bit will significantly enhance your overall drilling proficiency and effectiveness.
Obtain essential hands-on experience with various saws, such as jigsaws and circular saws, while honing critical cutting techniques including straight cuts, curves, and precision slicing. Furthermore, you will explore blade selection to ensure that you choose the right blade for each project, ultimately enabling you to produce clean, professional results that will elevate the overall quality of your craftsmanship.
All images are produced using artificial intelligence and may not precisely reflect the workshop or the products developed!!
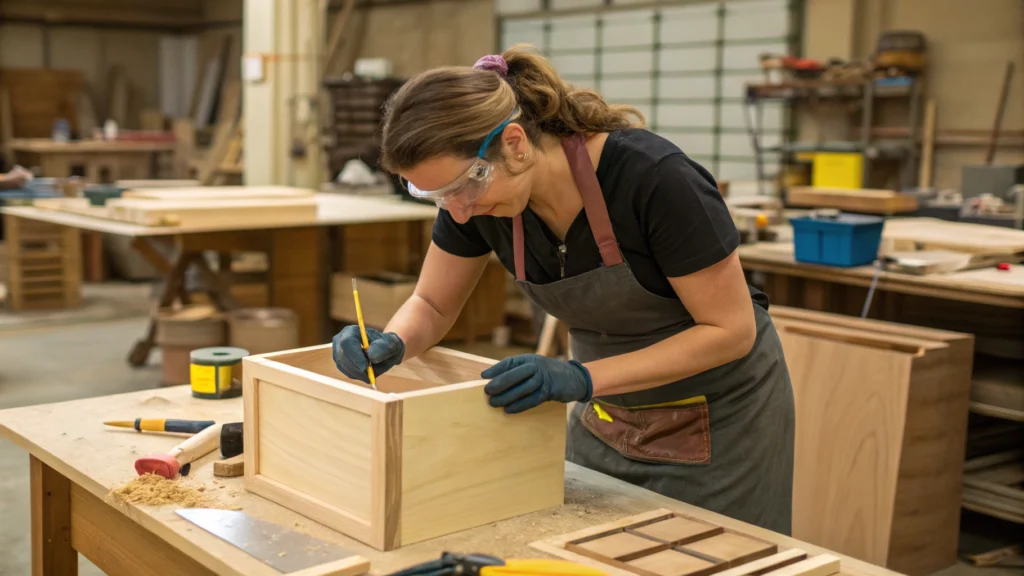
Designing Your Planter
Explore a diverse range of planter styles and design options, while considering key factors such as functionality, aesthetics, and size. It is advisable to create a detailed blueprint for your planter, meticulously accounting for the dimensions of your available space and the specific types of plants you intend to cultivate. This careful planning will guarantee that your planter not only enhances the surrounding environment but also satisfies the requirements of the plants. When proceeding with the shaping and cutting of materials, initiate the construction of the planter by precisely cutting the wood to the required dimensions using essential tools previously introduced in this guide. Furthermore, it is imperative to sand and smooth each component thoroughly to achieve a professional, polished finish that improves both the appearance and longevity of your planter.
Assembly Techniques
Acquire the skills necessary to securely assemble the various components of your planter through the strategic use of screws, nails, and diverse adhesive techniques to establish a robust connection. Employ clamps and other professional tools to ensure stability throughout the assembly process, guaranteeing that each element is securely positioned as you proceed. Furthermore, when considering the addition of decorative features, explore the integration of exquisite design elements such as routed edges, intricate motifs, or personalized carvings utilizing a router. This approach will not only elevate the aesthetic quality of your planter but also demonstrate your craftsmanship and meticulous attention to detail.
Final Touches and Practical Application
To commence, it is imperative to create drainage holes to facilitate optimal water flow for your plants, as this mitigates the risk of waterlogging and fosters healthy root development. Furthermore, allocate time to practice the installation of liners or other necessary accessories to prepare the planter for planting; this step is vital for preserving soil integrity and preventing erosion. Additionally, as you advance, it is crucial to evaluate and present your work proficiently. Reflect on the techniques acquired during the process, and utilize the opportunity to address any challenges you may have faced throughout. Lastly, upon the completion of your planter, acknowledge your hard work and commitment, and feel encouraged to share your exceptional creation with fellow participants who may value your efforts and insights.
By the end of the workshop, participants will have mastered the use of essential power tools, gained a deeper understanding of woodworking techniques, and completed a custom-built planter they can proudly display in their garden or home
List of DIY Classes


In Partnerhsip with