Make a Hardwood and Copper Oil Burner
Hands On Three Hour Workshop
Three hours in Total: 1 Day!
Course Scheduling Options:
The courses listed below are available in flexible time slots:
- Evenings (Monday–Friday): Three-hour sessions
- Daytime (Monday–Friday): Choose between three-hour or six-hour sessions
- Saturdays: Limited to five-hour sessions per day
This advanced workshop guides participants through the process of crafting a functional and decorative oil burner using hardwood, copper, and a Pyrex Bunsen glass. Building on foundational skills with a combi drill and saw, this project combines precise tool use with creative design to create a one-of-a-kind piece
Workshop Overview
Familiarize yourself with the materials by selecting a hardwood base, copper piping, and a Pyrex Bunsen glass for the oil reservoir. It is essential to consider the type of hardwood utilized, as different species can significantly influence the durability and visual appeal of the project. Design and Planning Create a comprehensive design sketch that includes precise dimensions for the hardwood base, copper framework, and the placement of the Pyrex glass. Generate multiple design iterations to investigate various configurations and enhance the overall structure. Plan the assembly process thoroughly, taking into account both functionality and aesthetics. Compile a detailed list of all necessary tools and supplies to prevent interruptions during assembly.
Shaping the Hardwood Base Utilize a saw to accurately cut the hardwood to the required dimensions for the base. Choose the appropriate type of saw based on the thickness of the hardwood to achieve a clean cut without splintering. Smooth the edges to attain a refined, clean finish.
Drill a central hole or recess to securely position the Pyrex Bunsen glass. Employ a drill bit that corresponds to the size of the base of the Pyrex glass, ensuring a snug yet gentle fit. This requires meticulous measurements to guarantee stability without excessive tightness.
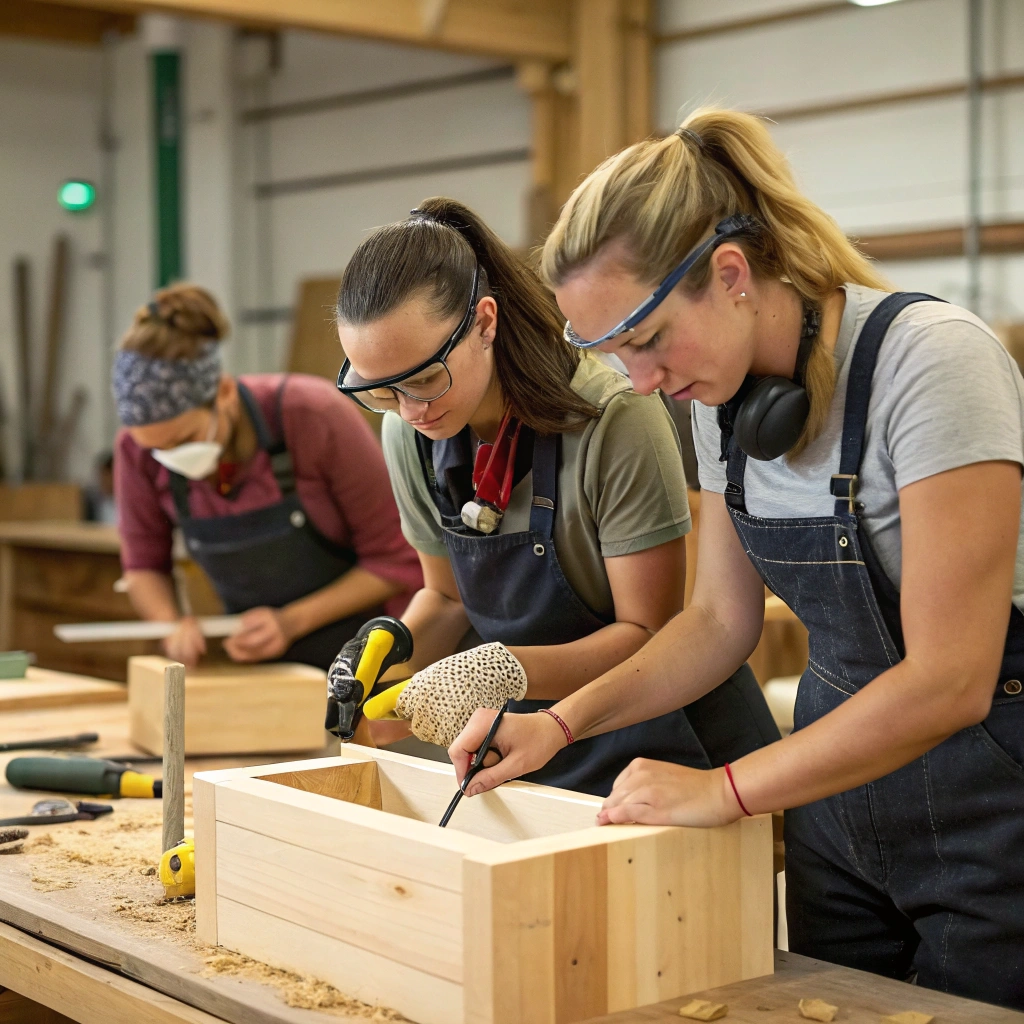
Always wear appropriate safety gear, including eye protection and gloves, while handling tools and materials.
Constructing the Copper Framework
Meticulously measure, cut, and manipulate segments of copper piping to construct a robust and aesthetically appealing support structure specifically designed for the glass. This copper framework should include a ring or holder that securely cradles the Pyrex glass above the burner’s flame, prioritizing safety and functionality. Furthermore, ensure thorough polishing of the copper components to enhance their natural luster, which not only elevates the overall design but also safeguards the metal against tarnishing over time.
Assembling the Oil Burner
To start, securely attach the copper framework to the robust hardwood base utilizing appropriate screws or heavy-duty brackets, ensuring that all connections are firmly secured and evenly distributed throughout the structure. Proper alignment of each component is essential for upholding safety and stability, thus mitigating any potential risks associated with loose fittings or misalignments. Once the copper framework is securely in place, carefully position the Pyrex Bunsen glass into its designated slot or cradle, ensuring a snug fit and adequate support. This procedure is critical, as it guarantees that the glass can endure any heat or pressure that may occur during usage, thereby enhancing both safety and efficacy in your experiments.
Adding Finishing Touches
To enhance the natural grain of hardwood and provide additional durability against wear and tear, it is advisable to apply a protective varnish or oil. This not only preserves the wood’s rich appearance but also contributes to its longevity. Furthermore, it is essential to conduct a thorough inspection of all components to ensure they are securely assembled and compliant with safety standards for the use of flame, thereby ensuring that the entire setup is safe and functional for your requirements.
Testing and Final Adjustments
In order to conduct a thorough evaluation of the oil burner, it is essential to methodically introduce a suitable type of oil paired with an appropriate wick into the Pyrex glass reservoir. After the burner preparation is complete, proceed to ignite the wick, which will facilitate the assessment of the burner’s safety, effectiveness, and even distribution of heat as designed. While monitoring the flame, implement any necessary adjustments to enhance not only the stability of the burner but also its alignment and overall aesthetic appeal. This process may include regulating the wick height or ensuring the burner is positioned on a level surface to maximize operational efficiency.
All images are produced using artificial intelligence and may not precisely reflect the workshop or the products developed!!
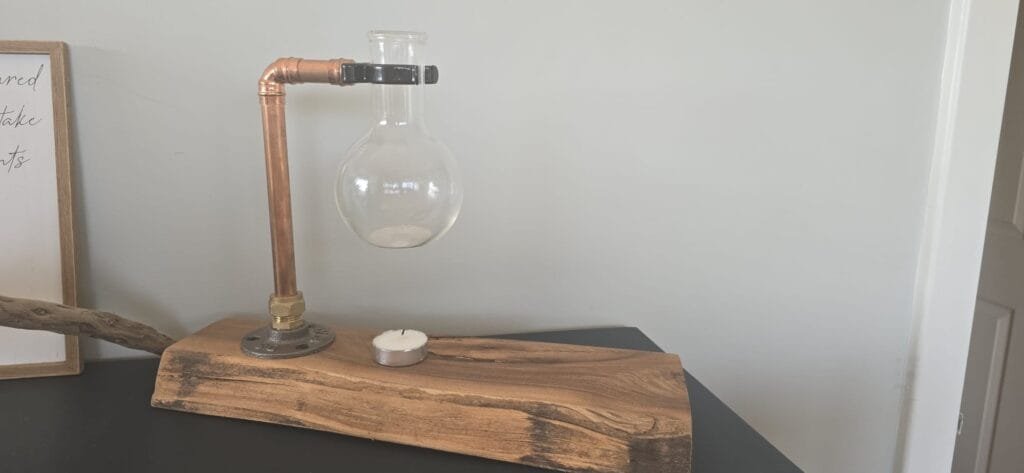
By the end of this workshop, participants will have created a beautiful and functional oil burner that showcases their woodworking, metalworking, and design skills. This stunning piece can serve as a decorative item or a practical addition to any space
List of DIY Classes


In Partnerhsip with